
Description
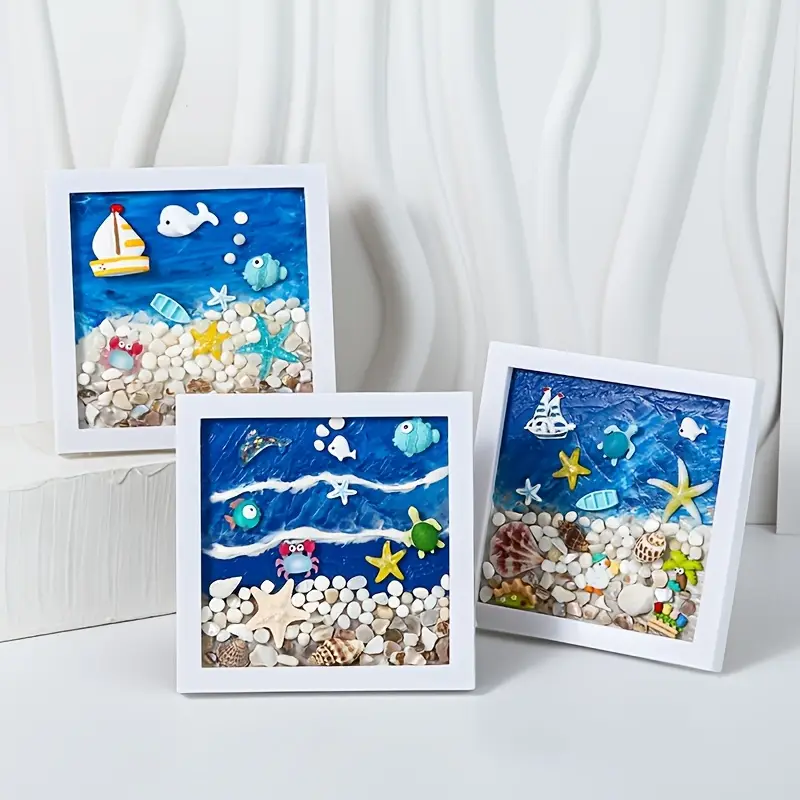
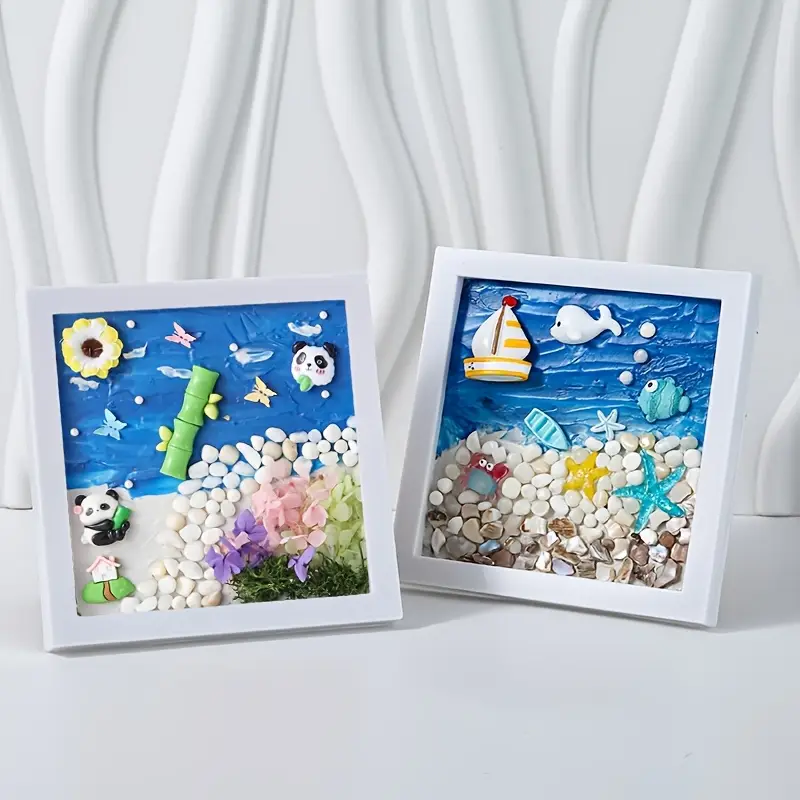
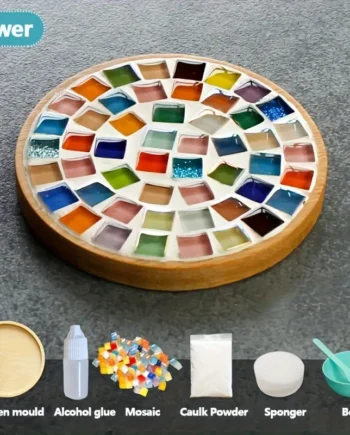
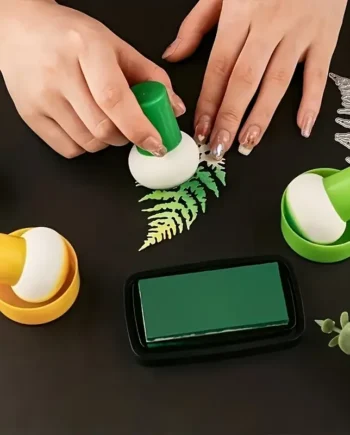
– A DIY handmade frame art kit with plastic materials typically includes a mold, resin, colorants (like mica powders and pigments), decorative elements (like dried flowers and glitter), and a display stand.
– These kits allow users to create unique resin art pieces, often personalized photo frames, by pouring resin into a mold, adding color and decorative elements, and allowing it to cure.
Key Features:
Components:
Mold:
Usually made of silicone, providing the shape for the resin art.
Resin:
A clear, two-part epoxy resin that hardens when mixed together.
Colorants:
Mica powders and pigments are included to add color and unique effects to the resin.
Decorative Elements:
Dried flowers, glitter, and foil flakes can be incorporated for added visual interest and personalization.
Embellishments:
Embossed gold stickers or other decorative elements can be added for a finishing touch.
Display Stand:
A plastic stand to showcase the finished resin art.
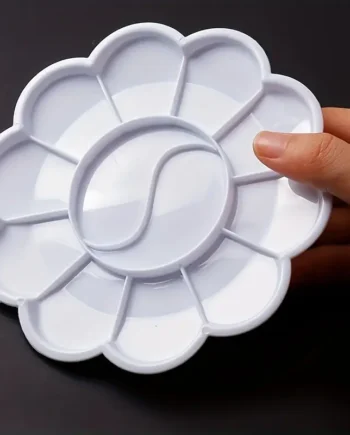
Other Accessories:
Mixing cups, sticks, gloves, and instructions may also be included.
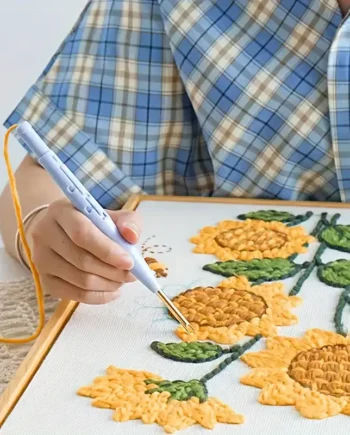
Process:
Prepare the mold:
Ensure the mold is clean and ready for resin.
Mix the resin:
Combine the resin components according to the instructions.
Add color and effects:
Mix in the desired mica powders, pigments, and other decorative elements.
Pour into the mold:
Carefully pour the resin mixture into the mold, ensuring it fills all the desired areas.
Add embellishments:
Place dried flowers, glitter, or other decorative elements into the resin before it fully cures.
Cure the resin:
Allow the resin to cure according to the instructions, usually for a set amount of time.
Demold and display:
Once cured, carefully remove the resin art from the mold and place it on the display stand.
Reviews
There are no reviews yet.